
What to Do Immediately After Water Damage Occurs
What to do first after water damage
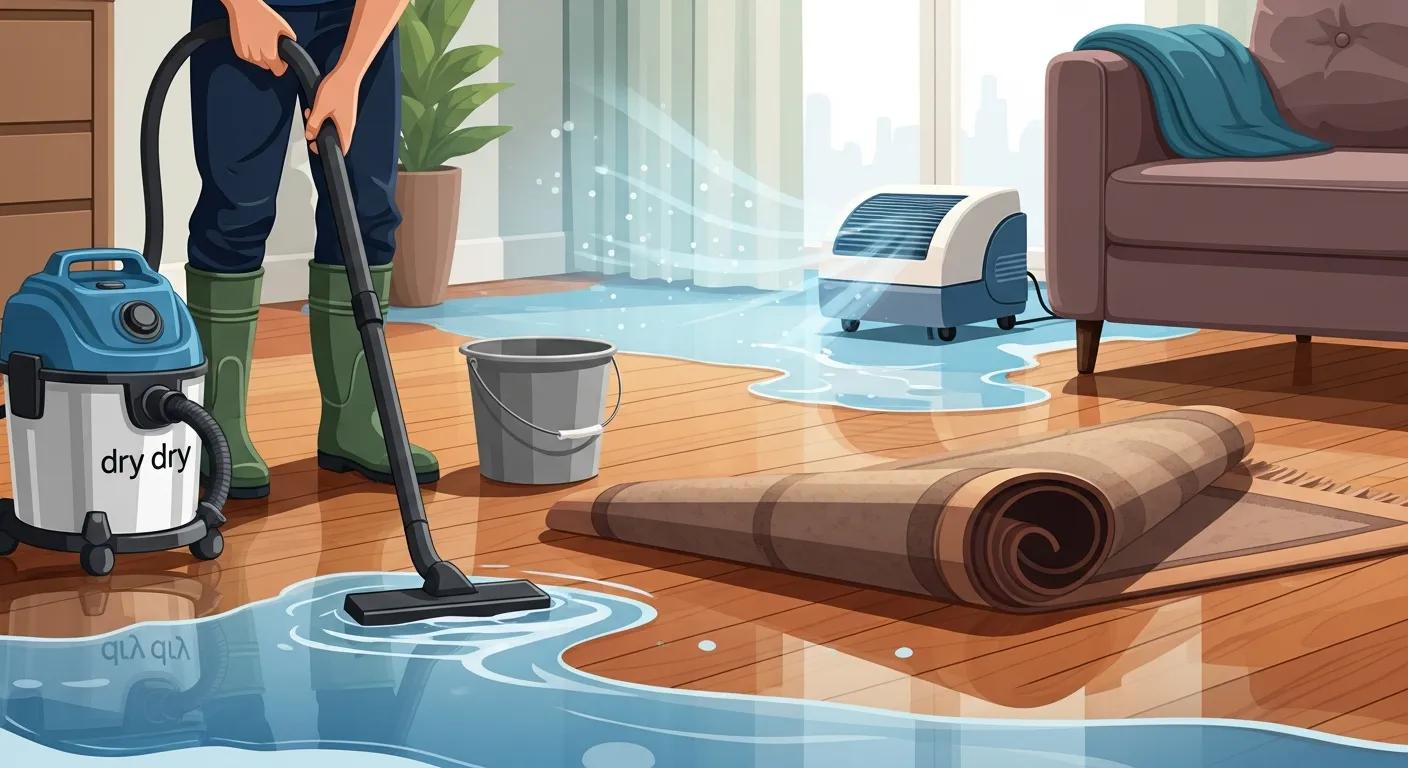
Water damage can arrive in minutes—when a pipe bursts, an appliance fails, a roof leaks, or a storm forces water into a building. Your first priorities are keeping people safe and preserving evidence so your insurance claim is supported. This guide walks through urgent safety steps, practical containment and documentation tactics, mold-prevention priorities, and how to work with insurers so you protect health and maximize recovery. You’ll learn how to stop the water safely, document the loss with photos and inventories, begin drying to limit mold, and when to involve a public adjuster. Adjustering is a connected support system that links homeowners and businesses to licensed public adjusters who advocate for full payouts and to vetted roofing, siding, and restoration pros who restore properties; our free referral service speeds access to local experts. The sections below cover immediate safety and shutoff steps, evidence best practices, why contacting a public adjuster early helps, mold and structural mitigation, claim navigation, and a short FAQ you can use as an action checklist.
How to prioritize safety and stop the water right away
Start by spotting immediate hazards—live electricity, contaminated water, and unstable structure—and then stop further water intrusion. The quickest way to keep people safe and protect evidence is a fast hazard check plus isolating the source: if electrical danger exists, shut power off before entering wet areas; if a pipe or appliance is clearly leaking, close its isolation valve or the main. These actions reduce injury risk and preserve the scene for documentation and professional assessment.
Follow this short, prioritized checklist to handle electrical and water shutoffs, temporary containment, and emergency notifications.
- Turn off electricity if outlets, panels, or appliances are wet and you can do so safely.
- Find and close the fixture isolation valve or the house main water shut-off to stop the flow.
- Contain flowing water with towels, buckets, and temporary barriers to protect valuables.
These steps stabilize the situation and set you up to safely access the electrical panel and locate the water main for a complete shutoff.
What electrical hazards should you watch for and how do you shut off power safely?
Water and electricity together create serious shock and fire risks when outlets, wiring, appliances, or panels are submerged or sparking. If you see sparking or smell burning, evacuate immediately and avoid touching any water-exposed surfaces—treat electrical hazards as life-threatening. When it’s safe to do so, shut off breakers at the electrical panel: turn off labeled circuits first if possible, otherwise shut the main breaker to cut power. Only access the panel if you are not standing in water. If the panel is wet, unreachable, or you’re unsure, leave power for emergency responders and call a licensed electrician. Don’t run generators or extension cords near wet areas. After power is controlled, photograph the panel, tripped breakers, and any burn marks to support later inspections and your claim.
How do you find and stop the main water supply quickly?
Turning off the main water supply stops ongoing flooding and prevents further saturation of structural materials and contents. Common locations for the main shut-off include basements near the meter, utility closets, garage walls where service lines enter, and exterior valve boxes; localized isolation valves are typically under sinks or behind toilets. If the hot-water heater or its controls are involved, turn off the heater shut-off to avoid scalding or pressure issues, and close appliance isolation valves for dishwashers and washing machines when they’re the source.
If you can’t locate the valve, contact your water utility or a plumber for an emergency shut-off. Meanwhile, protect high-value items with sandbags, towels, and buckets until flow is controlled.
How to document water damage so your insurance claim holds up

Accurate, timely documentation is the backbone of a successful water-damage claim. Photos, video, and inventories establish the extent, timing, and value of loss. Good documentation captures the source, affected areas, damaged contents, and any temporary repairs with timestamps and notes—creating the chain of evidence insurers rely on. Back up originals to cloud storage or email to preserve metadata, and keep a running log of conversations, inspections, and receipts for emergency expenses. Use the checklist below to record the essentials immediately after you stop the water.
- Shoot wide-angle photos to show room context and the water source.
- Take close-ups of damage to materials (drywall, flooring, insulation) and of affected contents.
- Record short, narrated video walkthroughs and save the original files.
Following this checklist preserves claim integrity and reduces disputes over pre-existing conditions or mitigation timing. The next subsection explains simple photo and video techniques that make documentation insurance-ready.
How to capture photos and video that support your claim

Clear images and videos show scale, location, and causation. Start with wide shots to set context, then take close-ups of damaged materials and items—include a ruler or a common object for scale. Narrated video walkthroughs that point out the source, the path of intrusion, and visible damage help tell the story; state the date on camera and keep original files unedited to preserve metadata. Use consistent file names like and back up copies to cloud storage or email. Also document temporary repairs—who did the work, what was done, and attach receipts—so insurers can approve or reimburse emergency mitigation. Below is an inventory template you can copy and use immediately.
Intro to inventory table: The following table is a simple inventory template to capture key details for damaged items so you can present clear, itemized evidence to your insurer.
| Item | Condition / Damage Description | Proof (Value / Serial # / Purchase date) |
|---|---|---|
| Living room sofa | Bottom cushion soaked; frame warped | Estimated value: $800; no receipt; purchased 2018 |
| Laptop (make/model) | Water-stained keyboard; failing power | Serial #: ABC123; value estimate: $1,200; receipt filed |
| Washer | Flooded control panel; shorted | Purchase date: 2020; estimate repair/replacement needed |
This table helps you prioritize high-value items and gather the proof adjusters need; organizing entries by room speeds claim review.
After you build an itemized inventory, sort items by priority and attach photos and receipts to each entry so insurers can verify losses quickly.
What to include in an inventory of damaged items
List each item’s description, pre-loss condition, estimated current value, proof of ownership, and any serial numbers or receipts. Add purchase dates, warranties, and notes about sentimental or irreplaceable items to support replacement-cost or additional-loss arguments. Organize the inventory by room; for high-value items include appraisal estimates or repair quotes when possible. Keep a running log of temporary repairs, cleaning costs, and out-of-pocket expenses with receipts so you can seek reimbursement for necessary mitigation. The next section explains the role of a public adjuster and how Adjustering’s referral process can help maximize your payout.
Why contact Adjustering and a public adjuster right away?
Contacting a licensed public adjuster early protects your claim rights. A public adjuster works for the policyholder—documenting losses thoroughly and negotiating with the insurer to seek full payment. Adjustering connects owners and businesses with licensed public adjusters and vetted restoration contractors, offering an end-to-end approach that aligns inspection, documentation, and repairs so items aren’t overlooked and settlements aren’t under-scoped.
Early engagement prevents missed damage and supports supplement claims when hidden deterioration appears. The table below compares the main roles so you can see how coordinated action improves results and why Adjustering’s referral model matters.
Intro to roles table: This table compares homeowner, insurance adjuster, public adjuster, and restoration contractor roles to clarify how each contributes to the best claim outcome.
| Service | Role | Benefit |
|---|---|---|
| Homeowner | Reporter and documenter | Starts the claim and preserves evidence |
| Insurance adjuster | Insurer representative | Provides the insurer’s initial assessment and scope |
| Public adjuster | Policyholder advocate | Itemizes losses and negotiates for full payout |
| Restoration contractor | Repairs and documents work | Restores property and provides cost-backed estimates |
Combining policyholder advocacy with vetted contractors builds a stronger, evidence-backed claim; Adjustering’s coordination removes friction between these roles.
How a public adjuster increases settlement value: licensed public adjusters perform detailed damage assessments, prepare line-item scopes of loss, and use industry pricing to justify full valuation—steps that reduce insurer disputes and often increase settlements versus homeowner-only claims. Adjusters spot hidden damage, file supplements when needed, and push back on under-scoped settlements. When paired with contractors who provide accurate repair estimates, the claim package is harder to deny or undervalue. Adjustering connects you to local licensed public adjusters and trusted roofing, siding, and restoration pros so inspections and remediation proceed in sync; the next subsection explains concrete adjuster actions and how Adjustering facilitates contractor coordination.
How a licensed public adjuster maximizes your insurance payout
A licensed public adjuster increases payout by documenting losses in granular detail, preparing itemized estimates, and applying industry standards to justify higher valuations. This approach reduces disputes and improves settlement accuracy. Adjusters use itemized scopes, photographic evidence, and trade-specific pricing to represent every repair and replacement, which often uncovers hidden damage insurers miss on an initial walk-through. Public adjusters also handle communications and appeals, cutting homeowner stress and avoiding missteps that limit recovery. Engaging a public adjuster early preserves evidence and creates a persuasive claim narrative; the next section explains how Adjustering links adjusters and restoration contractors to streamline the process.
How Adjustering coordinates with local restoration contractors
Adjustering matches you with vetted local restoration, roofing, and siding contractors and sequences inspections so adjusters and contractors document damage together to avoid missed items. The workflow usually starts with a rapid referral, joint inspection scheduling, and shared documentation so the restoration scope and claim scope align—reducing supplement disputes and speeding repair approvals. We serve Philadelphia, Bucks, Montgomery, Chester, Delaware counties, South Jersey, and Central Jersey, which lets us quickly connect you with trusted regional experts. Coordinated documentation and contractor estimates strengthen claim positions and shorten restoration timelines, then move into immediate mitigation to prevent mold and structural damage.
| Area Affected | Risk Level | Immediate Mitigation Step |
|---|---|---|
| Carpeted floors | High | Remove standing water; lift wet padding; begin drying within 24 hours |
| Ceiling drywall | Medium | Remove saturated drywall; inspect for structural compromise; dry cavity |
| Insulation cavities | High | Remove wet insulation; ventilate and dehumidify; document removal |
This quick-reference table pairs common trouble areas with priority mitigation so you can act fast while referrals and inspections are arranged.
How to prevent secondary damage like mold and structural failure
Preventing secondary damage focuses on fast extraction, drying, and documentation because mold can start quickly and structural members weaken with prolonged saturation. Immediate water removal lowers the moisture load; ventilation and dehumidification speed drying. Recording moisture readings and drying progress gives insurers proof you mitigated promptly. Use appropriate equipment—wet vacs, axial fans, and dehumidifiers—but know the limits: contaminated water or extensive saturation usually requires professional restoration following IICRC standards. The timeline below clarifies what to do in the first 72 hours to cut mold risk and protect your claim.
- 0–24 hours: Stop the water source, remove standing water, document damage, and begin temporary containment.
- 24–48 hours: Start active extraction and drying—deploy fans and dehumidifiers; monitor moisture.
- >48 hours: If materials stay damp or water is category 2 or 3, call professional restoration and begin mold assessment.
These time-based steps limit microbial growth and structural deterioration; the next subsections describe initial drying actions and explain why timing matters for mold development.
Initial drying and ventilation steps to reduce mold growth
Initial drying targets bulk water removal, increased air circulation, and lower humidity to deny mold the conditions it needs to grow. Use pumps and wet vacs to remove standing water, place axial fans to move air over wet surfaces, and run dehumidifiers to pull moisture from the air—document equipment placement and readings for your claim. Porous materials like carpet padding and insulation often need removal; non-porous surfaces can usually be cleaned and dried but require moisture verification. If you suspect contamination (sewage or floodwater), stop DIY efforts and call restoration professionals to avoid health risks and protect coverage.
Why the mold timeline matters after water exposure
Mold can begin colonizing wet materials within 24–48 hours, so the timing of mitigation and documentation is critical for health and for insurance decisions. Early mitigation shows you acted promptly to prevent avoidable damage—something insurers expect. Delayed action can be cited to deny mold-related claims or reduce payouts. Keep records of drying efforts, moisture readings, and contractor reports to show a good-faith remediation effort. If mold is visible or suspected, follow professional testing and remediation guided by IICRC standards to ensure safe, effective removal and to protect your claim.
How to navigate the water-damage insurance claim process
Start a claim with a clear, documented report of the event and keep steady communication with your insurer and any advocates. The typical flow is claim intake, initial inspection, estimate generation, and negotiation. Expect the insurer’s adjuster to inspect and produce an initial scope, but be ready to supplement that with your photos, inventories, and contractor estimates to ensure full coverage of necessary repairs. Avoid common mistakes—unauthorized major repairs, weak documentation, or failing to report hidden damage quickly—as these can limit recovery. The list below outlines insurer expectations and homeowner dos and don’ts to keep your claim on track.
- Keep all original receipts and records for emergency purchases and mitigation.
- Provide your inventory, photos, and videos to the insurer and your public adjuster.
- Do not discard damaged items until the insurer inspects them unless directed to do so.
These practices preserve evidence and strengthen negotiations; the next subsections describe typical insurer workflows and appeal strategies.
What to expect from your insurance company after filing
After you file, insurers typically acknowledge the claim, assign an adjuster, schedule inspections, and request documentation—response times vary but initial contact often happens within days. The insurer will evaluate coverage, may authorize emergency mitigation or temporary repairs, and sometimes issue advance payments. Keep a centralized claim log with dates and contact names to track progress. Watch for red flags such as quick lowball offers or requests to sign releases before the scope is resolved; these can be contested with supplemental documentation or a public adjuster. If the insurer’s scope looks incomplete, provide contractor estimates and moisture logs to support supplements and press for a full restoration.
How to avoid common mistakes and appeal a denied claim
Common claim pitfalls include delayed reporting, poor documentation, doing unauthorized permanent repairs, and failing to document mitigation costs. You can avoid these with prompt action and organized records. If a claim is denied or underpaid, gather your documentation, get independent estimates, and consider a licensed public adjuster to file appeals and negotiate. When appealing, submit photos, inventories, contractor scopes, and moisture readings to show loss extent and necessary repairs. If negotiations stall, a public adjuster connected through Adjustering can add advocacy and documentation to pursue a fair outcome.
Frequently Asked Questions
What should I do if I can't find the main water shut-off valve?
If you can’t find the main shut-off, act fast to limit damage. Call your water utility or a licensed plumber for an emergency shut-off. Meanwhile, use towels, buckets, or sandbags to contain the water and protect belongings. Photograph the situation and note what you tried—this documentation helps your claim. Quick action reduces further damage and lowers the risk of mold.
How can I ensure my insurance claim is processed smoothly?
Keep communication clear and consistent with your insurer. Document every step—conversations, inspections, and any repairs. Provide a detailed inventory with photos and videos. Avoid unauthorized permanent repairs before approval. Organized records and proactive communication significantly improve your chances of a fair settlement.
What are the signs of mold growth after water damage?
Look for visible mold patches, a musty smell, discoloration on walls or ceilings, or damp, persistent odors. Mold can develop within 24–48 hours in damp conditions, so monitor affected areas closely. If you spot mold, contact a professional remediation service promptly—early action protects health and limits further property damage, keeping your claim stronger.
How long does it typically take to dry out a water-damaged area?
Drying time varies with the extent of the damage, materials involved, and environmental conditions. It can take a few days to several weeks. Professional-grade dehumidifiers and fans speed the process. Monitor moisture levels regularly to confirm drying—prolonged dampness raises mold and structural risks.
What should I do if my insurance claim is denied?
If your claim is denied, review the denial letter to understand the reason. Gather all supporting documentation—photos, inventories, and contractor estimates—and submit a written appeal explaining why the claim should be reconsidered. A licensed public adjuster can help gather evidence, file appeals, and negotiate on your behalf.
Can I handle water damage restoration myself?
Small, clean-water incidents may be manageable for homeowners—removing standing water and drying surfaces. But significant damage, contaminated water, or widespread saturation usually requires professional restoration. Pros have the training and equipment to ensure complete drying and mold prevention. Always document any DIY steps you take; records help support your insurance claim.
What are the first steps to take when water damage occurs?
Focus on safety and evidence: make sure everyone is safe, shut power off if there’s an electrical hazard, stop the water source, photograph and video the damage, and begin temporary mitigation like moving valuables and using towels or buckets. After stabilization, report the claim to your insurer and consider contacting Adjustering for a free referral to a licensed public adjuster and vetted restoration contractors who can document losses and coordinate repairs. Keep all emergency receipts and records to prepare for efficient claim submission and reduce the chance of missed losses.
Act quickly and document everything to protect health, property, and your claim rights.
